I love having an organized classroom. It enables me to spend more time teaching and less time prepping materials, because I know right where to find them. It also makes the school day go more smoothly, because when I have one kid who needs a band-aid and another who needs some tape because he ripped his paper, I can help them quickly and get back to the other 20 kids.
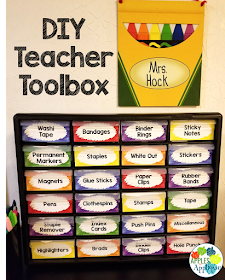
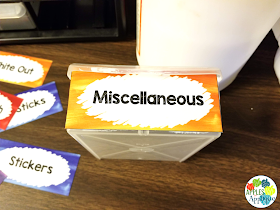
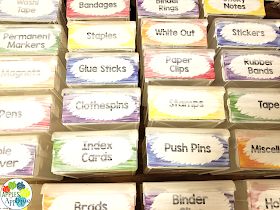
My teacher toolbox has been a lifesaver. It makes things easy for me to find, as well as for my paras and any substitutes that I have. I purchased this 24-drawer organizer and attached labels to each of the drawers. I sized my labels to fit exactly. Scroll to the end of the post to find links to the labels pictured here, as well as several other themes!
To make the labels look really nice, I put them on with ModPodge. To do this, simply print the labels and cut them out, then grab some ModPodge and a paintbrush.
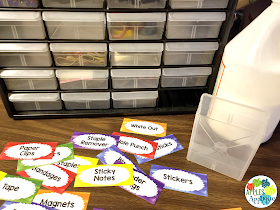 |
| Yes, I have a gallon-sized thing of ModPodge. I love to craft, what can I say? |
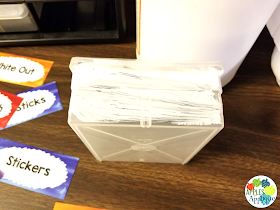
Apply a layer of ModPodge to the front of each drawer, then carefully line up the label and press it down.
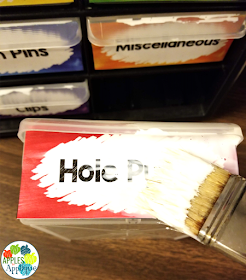
Let it dry for a little while--15 minutes or so should do it, it doesn't have to be completely dry--then paint some more ModPodge over the top.
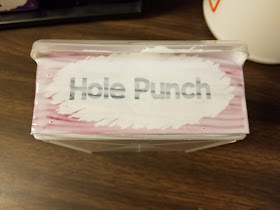 |
| It's okay if you get a little on the drawer handle. When it dries you won't be able to tell! |
Yep, right on top of the pretty printed side. Make sure to apply it over the edges as best as you can. I'll be honest, the first time I used ModPodge, I had a mini heart attack when I painted over the photo I was using; I was convinced it would be all wrinkly and cloudy looking when it was done. However, it turned out beautifully, and now I love the stuff!
After the ModPodge is completely dry, put the drawers back in the unit and start filling them up! Now you have a nice protective coating on them, and they look so professional.
Love the idea, but these rainbow labels aren't your thing? I have labels to fit all different themes, and even better, they are editable, so if you want something specific, you just have to type it in! Find each one by clicking the links below.
Black and White Theme (ink-friendly and classy)
Candy Colors Theme (brown, orange, yellow, and blue; sounds weird, but it's cute!)
Candy Shop Theme (whimsical and fun!)
Chalkboard Theme (a classic, natural look)
Comic Book Theme (you'd be the awesome-est teacher ever with a comic book themed classroom!)
Farmhouse Theme (another natural look, perfect for Montessori classrooms)
Monkey Theme (because who doesn't love monkeys?)
Popcorn Theme (always fun!)
Primary Colors Theme (can't go wrong with this classic)
Rainbow Theme (shown in this post)
Watercolor Theme (colorful and bright)
Yellow, Teal, and Gray (my most popular theme)
I also have tons of classroom decor items in all of the themes above in my TPT store, so you can have a fully coordinated classroom!
Happy organizing!


No comments:
Post a Comment